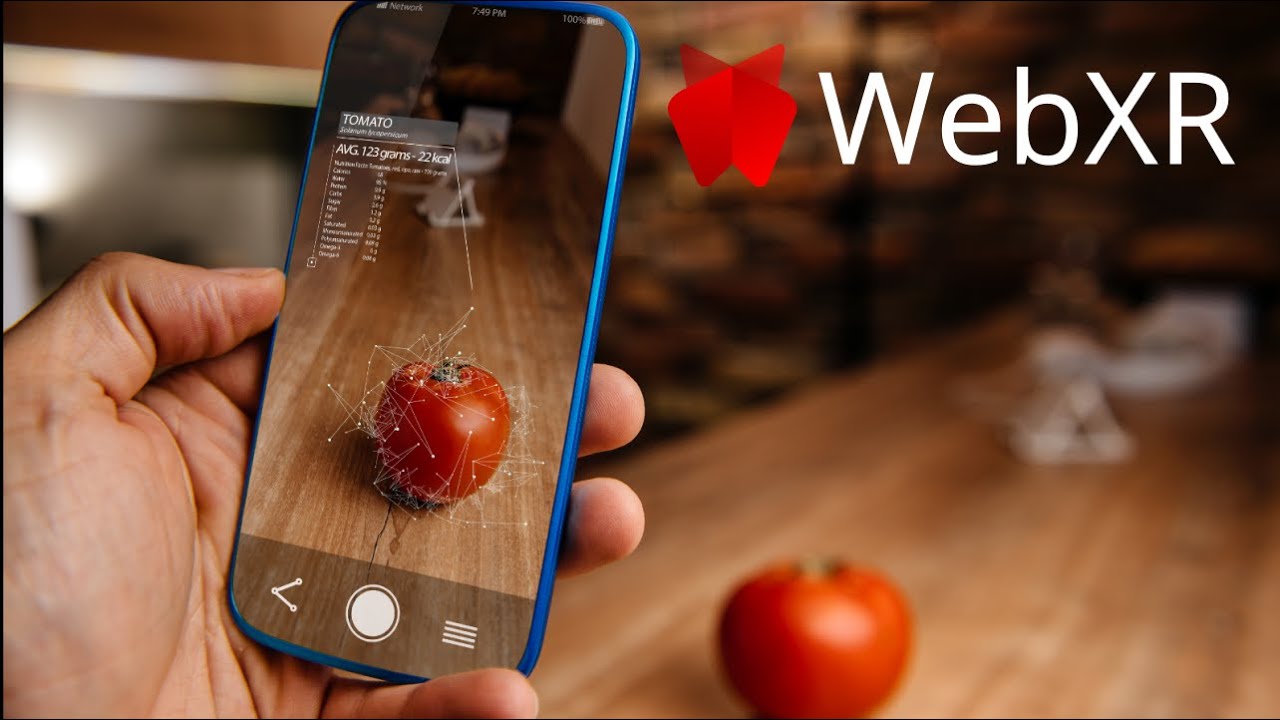
Augmented Reality (AR) has rapidly evolved from a futuristic concept to a mainstream technology, offering interactive and immersive experiences across various domains. Traditionally, AR experiences required dedicated apps, but recent advancements in web technologies have made it possible to create AR experiences directly in the browser. This article will introduce you to the basics of web-based AR, focusing on WebXR and Three.js, two powerful tools that enable AR development on the web.
What is WebXR?
WebXR (Web Extended Reality) is a web standard developed by the World Wide Web Consortium (W3C) that enables the creation of immersive experiences, including AR and Virtual Reality (VR), directly within web browsers. WebXR provides a unified API for accessing AR and VR hardware, allowing developers to create interactive experiences without the need for platform-specific code.
Key Features of WebXR
- Cross-Platform Compatibility: WebXR works across different devices and operating systems, making AR experiences accessible to a broader audience.
- No App Installation: Users can access AR experiences directly from their browsers without downloading or installing additional apps.
- Integration with Web Technologies: WebXR leverages existing web technologies like HTML, CSS, and JavaScript, allowing developers to integrate AR experiences seamlessly into websites.
What is Three.js?
Three.js is a popular JavaScript library that simplifies the creation of 3D graphics on the web. It provides an easy-to-use interface for rendering 3D content using WebGL (Web Graphics Library), making it a powerful tool for building AR experiences. Three.js abstracts the complexities of WebGL, enabling developers to focus on creating rich, interactive 3D scenes.
Key Features of Three.js
- Ease of Use: Three.js offers a high-level API that simplifies the creation and manipulation of 3D objects, making it accessible to developers of all skill levels.
- Extensive Documentation: Three.js has comprehensive documentation and a large community, providing ample resources and support for developers.
- Integration with WebXR: Three.js can be used in conjunction with WebXR to create immersive AR experiences, leveraging its powerful 3D rendering capabilities.
Creating a Simple Web-Based AR Experience
To illustrate how WebXR and Three.js can be used together, let’s walk through the creation of a simple AR experience that displays a 3D cube in the user’s environment.
Step 1: Setting Up the Project
First, set up a basic HTML project structure and include the necessary libraries. You’ll need the latest versions of Three.js and WebXR Polyfill (for compatibility with older browsers).
<!DOCTYPE html>
<html lang="en">
<head>
    <meta charset="UTF-8">
    <meta name="viewport" content="width=device-width, initial-scale=1.0">
    <title>WebXR AR Example</title>
    <script src="https://cdnjs.cloudflare.com/ajax/libs/three.js/r128/three.min.js"></script>
    <script src="https://cdn.jsdelivr.net/npm/@webxr/webxr-polyfill@latest/build/webxr-polyfill.min.js"></script>
</head>
<body>
    <script src="app.js"></script>
</body>
</html>
Step 2: Initializing Three.js and WebXR
Create a JavaScript file (app.js) and initialize a basic Three.js scene. Then, set up WebXR to enable AR functionality.
// Create a Three.js scene
const scene = new THREE.Scene();

// Create a camera
const camera = new THREE.PerspectiveCamera(70, window.innerWidth / window.innerHeight, 0.1, 1000);
camera.position.z = 5;

// Create a renderer and enable WebXR
const renderer = new THREE.WebGLRenderer({ antialias: true, alpha: true });
renderer.setSize(window.innerWidth, window.innerHeight);
renderer.xr.enabled = true;
document.body.appendChild(renderer.domElement);

// Add a simple 3D cube to the scene
const geometry = new THREE.BoxGeometry(1, 1, 1);
const material = new THREE.MeshBasicMaterial({ color: 0x00ff00 });
const cube = new THREE.Mesh(geometry, material);
scene.add(cube);

// Add WebXR session
const xrButton = document.createElement('button');
xrButton.innerText = 'Enter AR';
xrButton.style.position = 'absolute';
xrButton.style.bottom = '20px';
xrButton.style.left = '20px';
xrButton.onclick = () => {
    navigator.xr.requestSession('immersive-ar').then(session => {
        renderer.xr.setSession(session);
    });
};
document.body.appendChild(xrButton);

// Animation loop
function animate() {
    renderer.setAnimationLoop(() => {
        cube.rotation.x += 0.01;
        cube.rotation.y += 0.01;
        renderer.render(scene, camera);
    });
}

animate();
Step 3: Testing and Deployment
To test your AR experience, open the project in a WebXR-compatible browser (such as Chrome or Firefox). You can host your project on a local server or deploy it to a web hosting service for broader access.
Conclusion
WebXR and Three.js open up exciting possibilities for creating AR experiences on the web, making them accessible to a wider audience without the need for dedicated apps. By leveraging these tools, developers can create interactive and immersive AR experiences that enhance user engagement and provide unique value. Whether you’re a seasoned developer or a newcomer to AR, exploring WebXR and Three.js is a great way to start creating cutting-edge web-based AR experiences.
