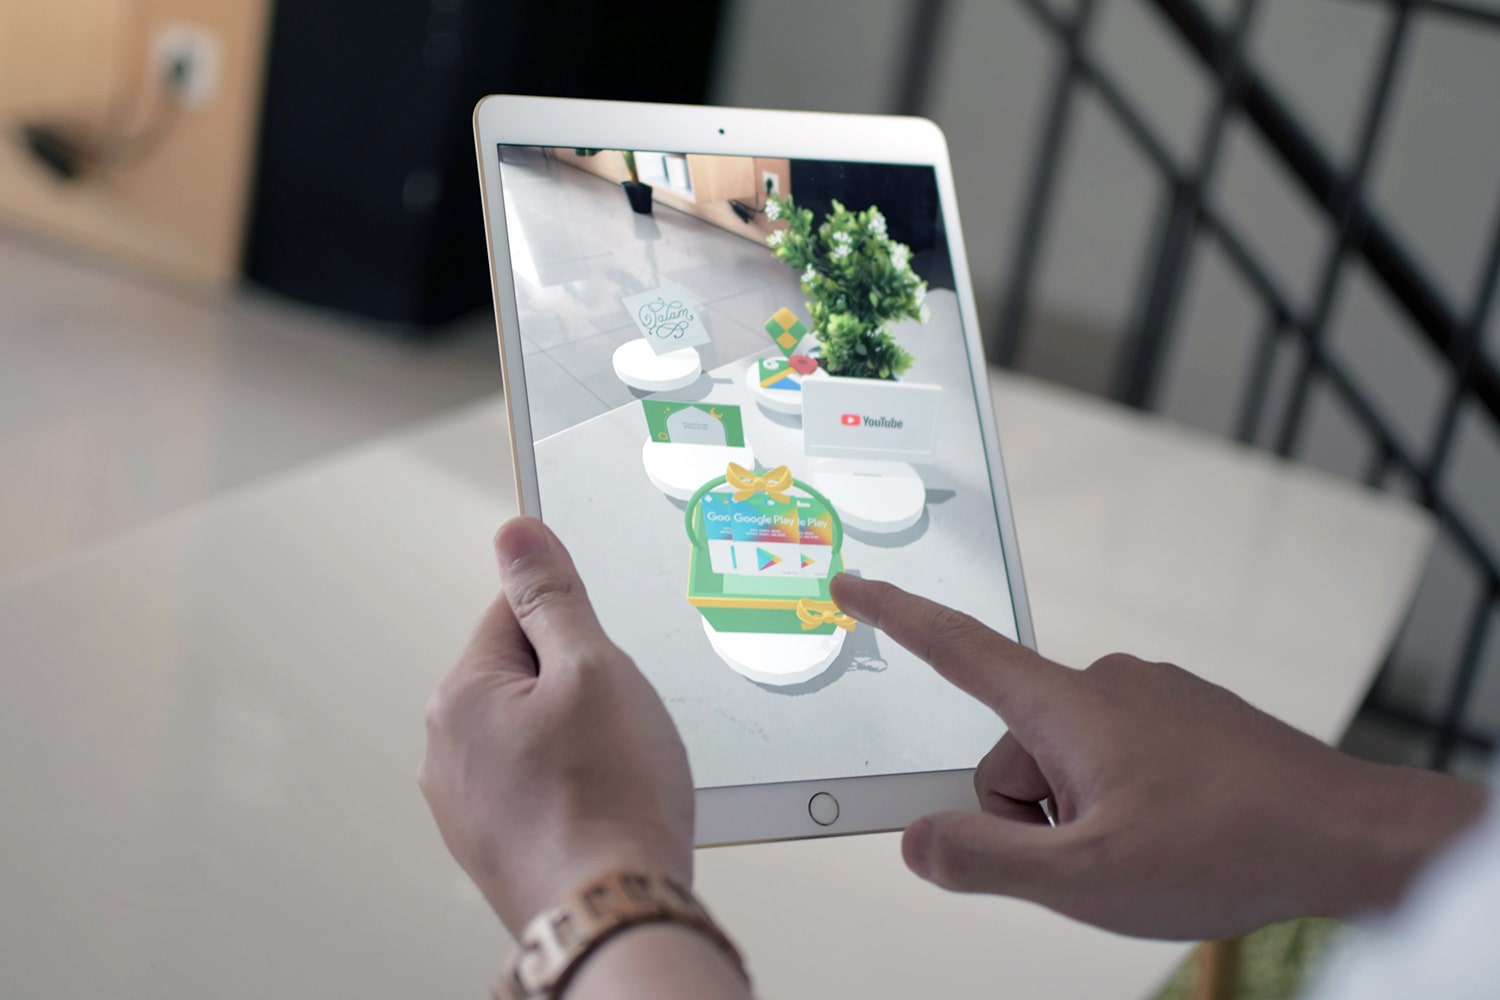
Augmented Reality (AR) is rapidly becoming a vital tool for engaging and interactive digital experiences. Assemblr is an accessible platform that allows users to create their own AR content with ease, making it perfect for beginners and professionals alike. Whether you’re an educator, marketer, or creative enthusiast, Assemblr provides the tools to bring your ideas to life. Here’s a comprehensive guide on how to create your own augmented reality using Assemblr.
What is Assemblr?
Assemblr is a user-friendly platform designed for creating, sharing, and experiencing AR content. It offers a variety of features that make it easy to build AR experiences without extensive technical knowledge. Assemblr supports both web-based and mobile applications, making your AR creations accessible across multiple devices.
Key Features of Assemblr
- Easy-to-Use Interface: Assemblr’s drag-and-drop interface allows users to create AR content quickly and intuitively.
- Rich Asset Library: Access a vast library of 3D models, images, videos, and animations to enhance your AR projects.
- Customizable Content: Import your own assets and customize them to suit your needs.
- Interactive Elements: Add interactive elements such as buttons, links, and animations to make your AR experiences more engaging.
- Cross-Platform Compatibility: Publish and share your AR creations across various platforms and devices, including iOS, Android, and web browsers.
Getting Started with Assemblr
Step 1: Sign Up and Log In
- Create an Account: Visit the Assemblr website (https://www.assemblrworld.com/) or download the Assemblr app from the App Store or Google Play Store.
- Sign Up: Register for a new account or log in with your existing credentials.
Step 2: Create a New Project
- Start a New Project: Click on the “Create” button to start a new AR project.
- Choose a Template: Select from a variety of templates that best match your project type, or start from scratch.
Step 3: Add and Customize Assets
- Add 3D Models: Use Assemblr’s library to find 3D models that fit your project. Drag and drop them into your workspace.
- Import Custom Assets: If you have your own 3D models, images, or videos, you can import them into Assemblr for use in your AR scene.
- Position and Scale: Adjust the position, rotation, and scale of your assets to fit your desired layout.
Step 4: Enhance with Interactive Elements
- Add Interactivity: Incorporate interactive elements such as buttons, links, and animations. These can trigger actions like opening a webpage, playing a video, or displaying additional information.
- Set Triggers: Define triggers for your interactive elements, such as user taps, proximity, or time-based actions.
Step 5: Preview and Test
- Preview Your Project: Use the preview feature to see how your AR project will look and function in real-world environments.
- Test on Devices: Test your AR experience on different devices to ensure compatibility and performance.
Step 6: Publish and Share
- Publish Your Project: Once you’re satisfied with your AR creation, click on the “Publish” button.
- Share: Share your AR experience via a link, QR code, or directly on social media platforms. Assemblr makes it easy to distribute your AR content to a wide audience.
Practical Applications of Assemblr
- Education: Create interactive learning materials that bring educational content to life. Use AR to visualize complex concepts, historical sites, or scientific phenomena.
- Marketing and Advertising: Develop engaging marketing campaigns that capture attention and provide immersive brand experiences. Use AR to showcase products, deliver promotional content, and drive customer interaction.
- Art and Design: Explore new creative possibilities by incorporating AR into your artistic projects. Use Assemblr to create virtual art exhibitions, interactive installations, and digital storytelling experiences.
- Real Estate: Enhance property listings with AR tours that allow potential buyers to explore properties remotely. Use AR to visualize floor plans, interior designs, and renovation possibilities.
Tips for Creating Effective AR Experiences with Assemblr
- Start Simple: Begin with straightforward projects to get comfortable with the platform. As you gain experience, you can tackle more complex AR experiences.
- Focus on User Experience: Design your AR content with the end user in mind. Ensure that interactions are intuitive and enhance the overall experience.
- Optimize for Performance: Use optimized assets and minimize the complexity of your scenes to ensure smooth performance across all devices.
- Test Extensively: Test your AR projects on various devices and in different environments to ensure they work as intended and provide a consistent user experience.
- Stay Creative: Experiment with different assets, interactions, and designs. AR is a versatile medium that allows for endless creative possibilities.
Conclusion
Assemblr makes it easier than ever to create your own augmented reality experiences, regardless of your technical background. By following this step-by-step guide, you can harness the power of AR to create engaging, interactive, and immersive content for a wide range of applications. Whether you’re an educator, marketer, artist, or real estate professional, Assemblr provides the tools and platform to bring your AR ideas to life. Start exploring the world of augmented reality with Assemblr today and discover new ways to captivate and inspire your audience.
