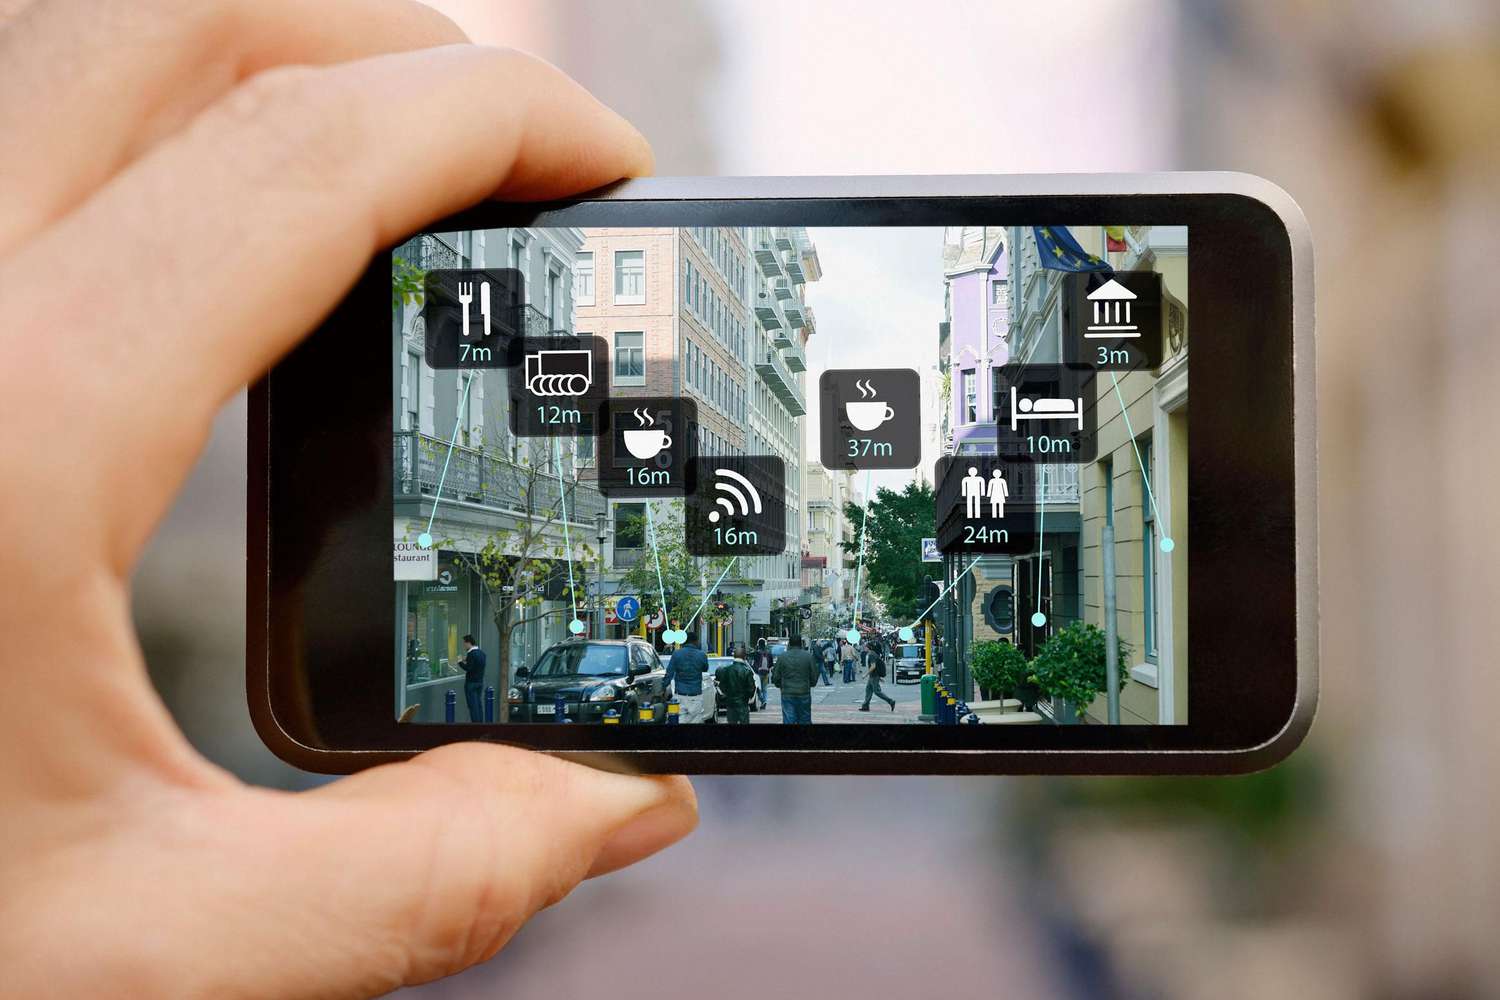
Augmented Reality (AR) has transformed the way we interact with the digital world, blending virtual elements seamlessly into our physical environment. Creating your own AR application might seem like a daunting task, but with the right tools and a clear plan, it can be an exciting and rewarding project. Here’s a comprehensive guide to help you create your own augmented reality application.
Step 1: Define Your Concept
Before diving into the technical details, it’s essential to have a clear concept of your AR application:
- Purpose: Determine the primary goal of your AR app. Is it for entertainment, education, retail, or marketing?
- Target Audience: Identify who will be using your app and tailor your content to their preferences.
- Features: Decide on the key features and interactions you want to include in your AR experience.
Step 2: Choose the Right Tools and Platforms
Selecting the appropriate tools and platforms is crucial for developing a robust AR application:
- AR Development Platforms:
- ARKit: Ideal for developing AR apps for iOS devices.
- ARCore: Perfect for creating AR apps for Android devices.
- Unity with Vuforia: A versatile combination for building cross-platform AR applications.
- Adobe Aero: Great for designers and artists looking to create AR experiences without extensive coding.
- 3D Modeling Software: Use tools like Blender, Maya, or 3ds Max to create and animate your 3D models.
Step 3: Set Up Your Development Environment
Depending on your chosen platform, set up your development environment:
- For ARKit (iOS):
- Install Xcode from the Mac App Store.
- Download and install the ARKit framework.
- Familiarize yourself with Swift, Apple’s programming language.
- For ARCore (Android):
- Install Android Studio from the official website.
- Download and install the ARCore SDK.
- Learn the basics of Kotlin or Java.
- For Unity with Vuforia:
- Download and install Unity Hub and the Unity Editor.
- Install the Vuforia Engine from the Unity Asset Store.
- Explore Unity’s scripting language, C#.
Step 4: Design and Create Your AR Content
- 3D Models and Assets:
- Create or source 3D models for your AR content using 3D modeling software.
- Optimize your models to ensure they run smoothly on mobile devices.
- Textures and Materials:
- Apply high-quality textures and materials to your models to enhance realism.
- Animations:
- Create animations for your models to add interactivity and life to your AR experience.
Step 5: Develop Your AR Application
- Setup Project:
- Create a new project in your chosen development environment (Xcode, Android Studio, Unity).
- Integrate AR SDK:
- For ARKit, add the ARKit framework to your Xcode project.
- For ARCore, add the ARCore SDK to your Android Studio project.
- For Unity, import the Vuforia package into your Unity project.
- Implement AR Functionality:
- Set up AR session configuration to detect surfaces and place virtual objects.
- Use hit testing to determine where virtual objects should be placed in the real world.
- Add interactivity by implementing gestures (tap, pinch, swipe) to manipulate virtual objects.
- Test Your App:
- Regularly test your app on physical devices to ensure compatibility and performance.
- Use debugging tools to identify and fix issues.
Step 6: Optimize Performance
Performance optimization is crucial for a smooth AR experience:
- Reduce Model Complexity: Simplify your 3D models to reduce the computational load.
- Optimize Textures: Use compressed texture formats to save memory.
- Efficient Code: Write efficient code to minimize processing time and battery consumption.
- Frame Rate: Aim for a consistent frame rate (30fps or higher) to ensure a smooth user experience.
Step 7: Publish Your AR Application
- Prepare for Launch:
- Test your app thoroughly on various devices and under different conditions.
- Gather feedback from beta testers and make necessary improvements.
- App Store Submission:
- For iOS, submit your app to the Apple App Store.
- For Android, submit your app to the Google Play Store.
- Marketing and Promotion:
- Create a marketing strategy to promote your app.
- Utilize social media, press releases, and influencer partnerships to reach a broader audience.
Step 8: Monitor and Update
- User Feedback: Collect and analyze user feedback to identify areas for improvement.
- Regular Updates: Keep your app updated with new features, improvements, and bug fixes.
- Analytics: Use analytics tools to monitor app performance and user engagement.
Conclusion
Creating your own augmented reality application is a challenging yet rewarding endeavor that opens up a world of possibilities for interactive digital experiences. By following these steps—defining your concept, choosing the right tools, designing AR content, developing your app, optimizing performance, and publishing—you can bring your AR vision to life. Embrace the potential of AR technology and start creating immersive, engaging, and innovative applications that captivate and inspire your audience.
