Adobe Aero is revolutionizing the world of augmented reality (AR) by providing an intuitive and powerful platform for creating interactive AR experiences. Whether you’re an artist, designer, or marketer, Adobe Aero allows you to bring your creative visions to life without the need for extensive coding knowledge. Here’s a comprehensive guide to getting to know AR in Adobe Aero and how to start creating your own AR projects.
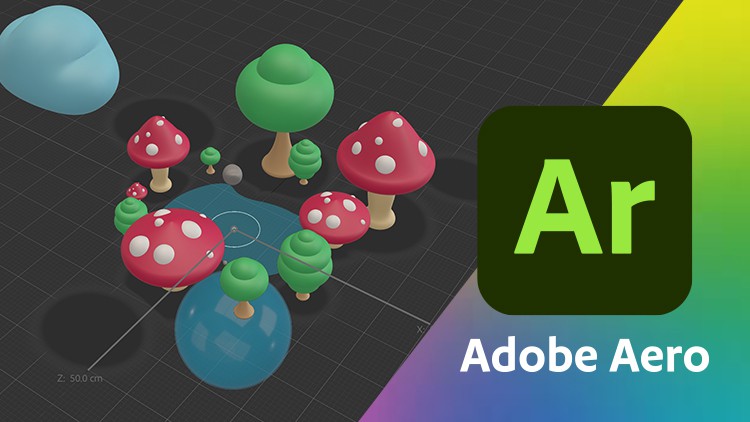
What is Adobe Aero?
Adobe Aero is a software tool developed by Adobe that allows users to design and share AR experiences. It’s part of the Adobe Creative Cloud suite and integrates seamlessly with other Adobe applications like Photoshop and Illustrator, making it easy to import assets and enhance your AR projects. Adobe Aero is designed to be user-friendly, enabling creators to focus on their creativity rather than technical complexities.
Key Features of Adobe Aero
- Intuitive Interface: Adobe Aero provides a user-friendly interface that allows users to create AR experiences through a visual, drag-and-drop approach.
- Integration with Adobe Creative Cloud: Easily import assets from Adobe Photoshop, Illustrator, and other Creative Cloud applications.
- Interactive Behaviors: Add interactivity to your AR experiences with triggers and actions, allowing users to tap, move, and interact with digital elements.
- Real-Time Preview: See your AR creations come to life in real-time, making it easier to iterate and refine your designs.
- Cross-Platform Sharing: Share your AR experiences across various platforms and devices, including mobile phones and tablets.
Getting Started with Adobe Aero
Step 1: Install Adobe Aero
Adobe Aero is available on both desktop (beta version) and mobile platforms (iOS). To get started, download and install Adobe Aero from the Adobe Creative Cloud website or the Apple App Store.
Step 2: Create a New Project
- Open Adobe Aero: Launch the application and sign in with your Adobe ID.
- Start a New Project: Click on “Create New” to start a new AR project.
Step 3: Import Assets
- Import from Creative Cloud: Click the “+” icon to import assets from Adobe Creative Cloud, Photoshop, Illustrator, or other supported formats.
- Use Built-In Assets: Adobe Aero also provides a library of built-in assets that you can use to get started quickly.
Step 4: Place and Position Assets
- Drag and Drop: Drag your assets from the library into the AR workspace.
- Positioning: Use the on-screen controls to position, rotate, and scale your assets within the AR scene. You can also move around with your device to see how the assets fit in the real-world environment.
Step 5: Add Interactivity
- Behaviors Panel: Open the Behaviors panel to add interactivity to your assets.
- Triggers and Actions: Set triggers (e.g., tap, proximity) and corresponding actions (e.g., move, rotate, play animation) to create interactive experiences.
- Preview and Test: Use the real-time preview feature to test the interactivity and make adjustments as needed.
Step 6: Publish and Share
- Export Options: Once you’re satisfied with your AR project, click on the share icon to export and share your experience.
- Share Links: Generate a shareable link or QR code that others can use to view your AR creation on their devices.
- Social Media: Share your AR experiences on social media platforms to reach a wider audience.
Practical Applications of Adobe Aero
- Marketing and Advertising: Create immersive advertisements and promotional content that engages customers in new ways.
- Education: Develop educational AR experiences that make learning interactive and fun.
- Art and Design: Showcase your art and design projects in augmented reality, providing a unique viewing experience.
- Retail: Enhance the shopping experience by allowing customers to visualize products in their own environment.
Tips for Creating Effective AR Experiences
- Keep It Simple: Start with simple interactions and build complexity as you become more comfortable with the tool.
- Focus on User Experience: Ensure that your AR experiences are intuitive and easy to interact with.
- Test on Multiple Devices: Test your AR projects on different devices to ensure compatibility and performance.
- Use High-Quality Assets: High-quality 3D models and graphics will enhance the realism and appeal of your AR experiences.
Conclusion
Adobe Aero opens up a world of possibilities for creating engaging and interactive AR experiences. With its intuitive interface, seamless integration with Adobe Creative Cloud, and powerful features, Adobe Aero empowers creators to bring their visions to life in augmented reality. Whether you’re new to AR or an experienced designer, Adobe Aero provides the tools you need to explore the exciting world of AR and create captivating experiences that leave a lasting impression. Embrace the future of digital interaction with Adobe Aero and start transforming your creative ideas into immersive AR realities today.