Creating augmented reality (AR) experiences from 2D pictures opens up exciting possibilities for enhancing digital content with interactive elements. Whether you’re a marketer, educator, or creative enthusiast, leveraging AR technology can transform static images into dynamic, engaging experiences. This guide will walk you through the steps to create augmented reality from 2D pictures, using accessible tools and techniques.
Understanding Augmented Reality from 2D Pictures
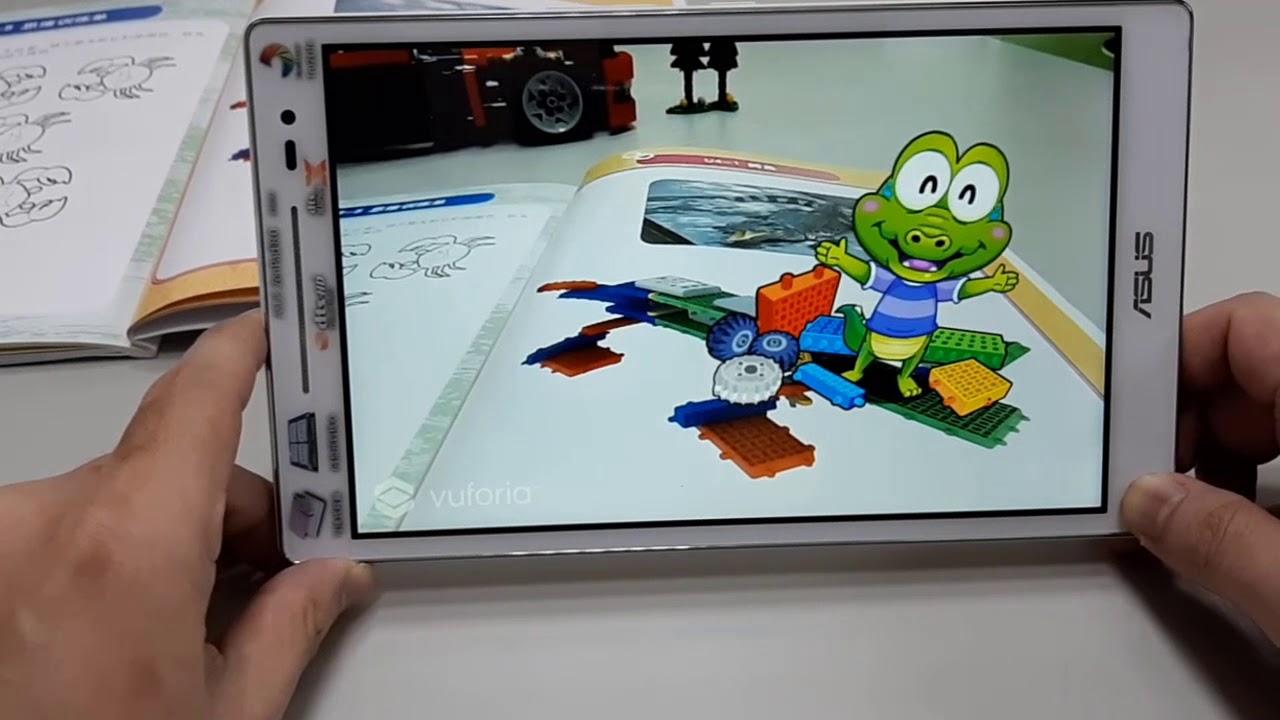
Augmented Reality enhances real-world environments by overlaying digital information or virtual objects onto them. When applied to 2D pictures, AR can animate images, provide additional information, or create interactive experiences that captivate viewers. Here’s how you can create AR from 2D pictures effectively:
Tools and Platforms
- Assemblr Studio
- Features: Assemblr Studio provides a user-friendly platform for creating AR experiences from 2D pictures. It supports drag-and-drop functionality, allowing you to import images and overlay interactive elements such as animations, buttons, and audio.
- Compatibility: Assemblr Studio is compatible with both iOS and Android devices, making it accessible for a wide audience.
- Unity with AR Foundation
- Features: Unity is a powerful tool for creating AR applications. AR Foundation allows developers to build cross-platform AR experiences that can recognize and augment 2D images.
- Customization: Unity offers extensive customization options, including scripting with C# to add complex interactions and behaviors to AR elements.
- Spark AR Studio
- Features: Spark AR Studio is ideal for creating AR effects for Facebook and Instagram. While primarily used for face filters and interactive camera effects, it can also augment 2D images with animations, sound, and interactivity.
- Social Media Integration: Spark AR Studio allows you to publish AR effects directly to Facebook and Instagram, reaching a broad audience.
Steps to Create Augmented Reality from 2D Pictures
Step 1: Define Your AR Experience
- Conceptualize: Determine the purpose of your AR experience—whether it’s storytelling, education, marketing, or entertainment.
- Audience: Understand your target audience and tailor the AR content to their interests and preferences.
Step 2: Choose Your Tools
- Select Platform: Based on your goals and technical expertise, choose a suitable platform such as Assemblr Studio, Unity with AR Foundation, or Spark AR Studio.
Step 3: Prepare Your 2D Pictures
- Image Selection: Choose high-quality 2D pictures that align with your AR experience goals. Ensure that the images are clear and visually appealing.
- Image Optimization: If necessary, optimize images for digital use to ensure they load quickly and display properly in AR environments.
Step 4: Create AR Content
- Import Images: Use your chosen platform to import the 2D pictures into the AR workspace.
- Overlay Elements: Add interactive elements such as animations, buttons, videos, or 3D models that augment the 2D pictures.
- Scripting (if applicable): If using Unity, use C# scripting to program interactions, animations, and behaviors for AR elements.
Step 5: Test and Refine
- Testing: Test your AR experience on different devices to ensure compatibility and functionality.
- User Feedback: Gather feedback from testers or users to identify areas for improvement and refinement.
Step 6: Publish and Share
- Publish: Once satisfied with the AR experience, publish it on the respective platform (App Store, Google Play, social media platforms).
- Promotion: Promote your AR experience through social media, email newsletters, and other channels to reach your target audience.
Practical Applications of AR from 2D Pictures
- Marketing: Create interactive product catalogs or advertisements that engage customers with AR-enhanced visuals.
- Education: Develop interactive learning materials that bring historical images, artworks, or scientific diagrams to life with AR overlays.
- Entertainment: Design AR games or interactive storytelling experiences that use 2D pictures as visual cues or background scenery.
Tips for Success
- Keep it Simple: Start with basic AR interactions and gradually add complexity as you become more comfortable with the tools.
- Optimize Performance: Use optimized assets and consider file sizes to ensure smooth AR experiences on mobile devices.
- User Experience: Design intuitive user interfaces and interactions that enhance rather than detract from the 2D pictures.
Conclusion
Creating augmented reality from 2D pictures opens up a world of creative possibilities, allowing you to transform static images into dynamic, interactive experiences. Whether you’re showcasing products, educating students, or entertaining audiences, AR enhances engagement and immerses users in digital content like never before. By following these steps and leveraging accessible tools like Assemblr Studio, Unity with AR Foundation, or Spark AR Studio, you can harness the power of AR to captivate your audience and deliver memorable experiences that blur the line between imagination and reality.